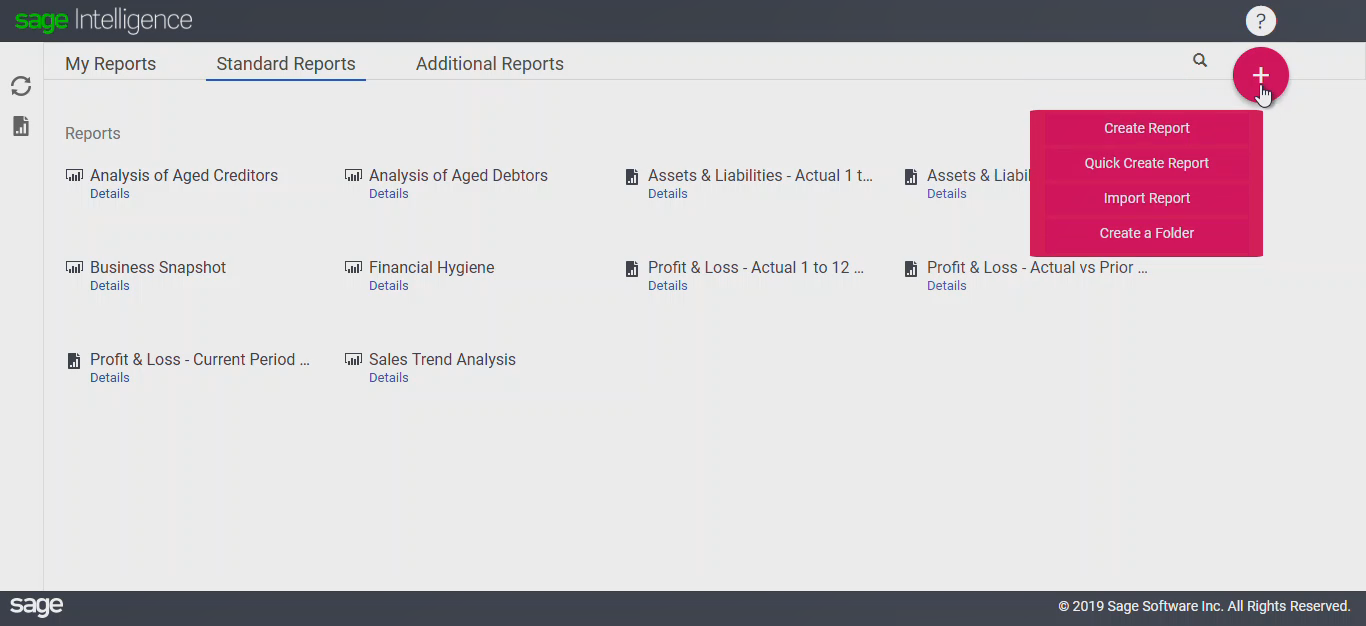
- First, select the Options button (red plus sign) in the top right corner of the screen. Select Quick Create Report.
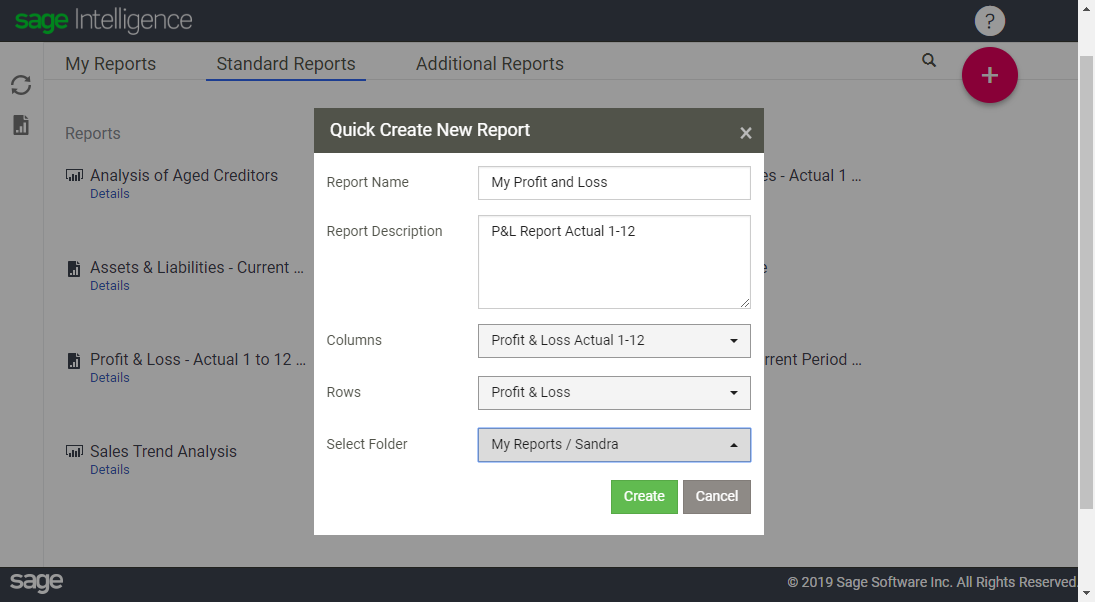
2. The Quick Create New Report dialogue will open where you can enter a name and description for your report. Select from a list of predefined or custom columns and rows, and choose the folder you would like it saved in.
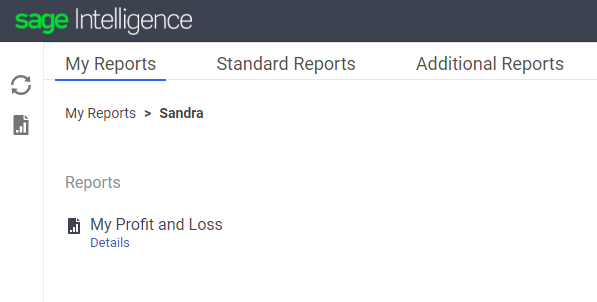
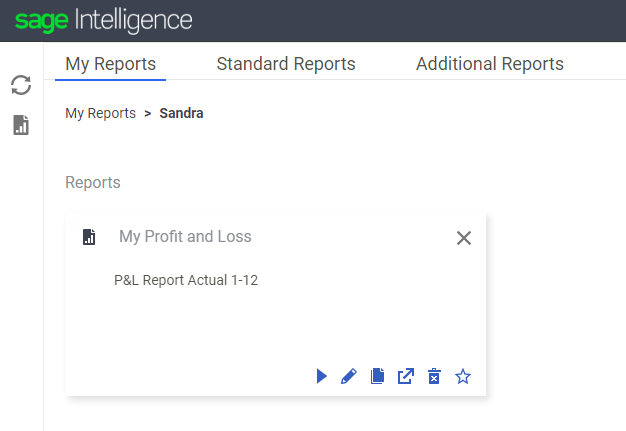
3. Once you click Create the system will take you to your new report within the folder you selected. 4. Next, go to the report and select Details.
5. Then select the Edit icon (pencil icon). Note that you can hover over each icon to see the icon's name.
6. In the Edit screen, you will see your report complete with Columns and Rows. Now you can select the filters and run your report.
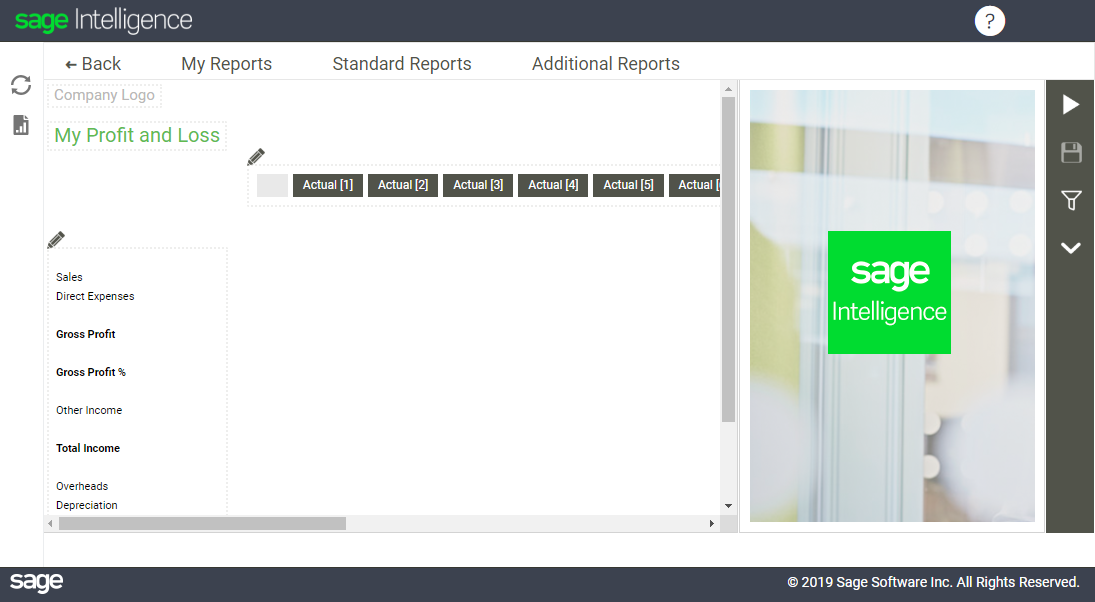
7. Select the Filter icon found on the far right of the screen in the action panel. You must select Company, Year and Title Period.
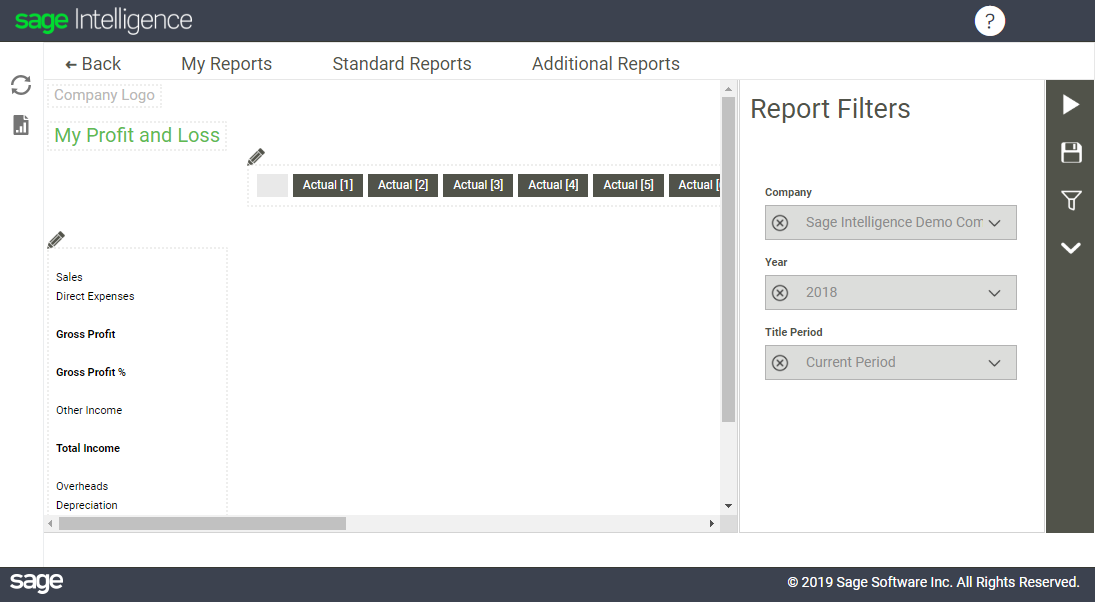
8. Finally select the Run button to view your information.
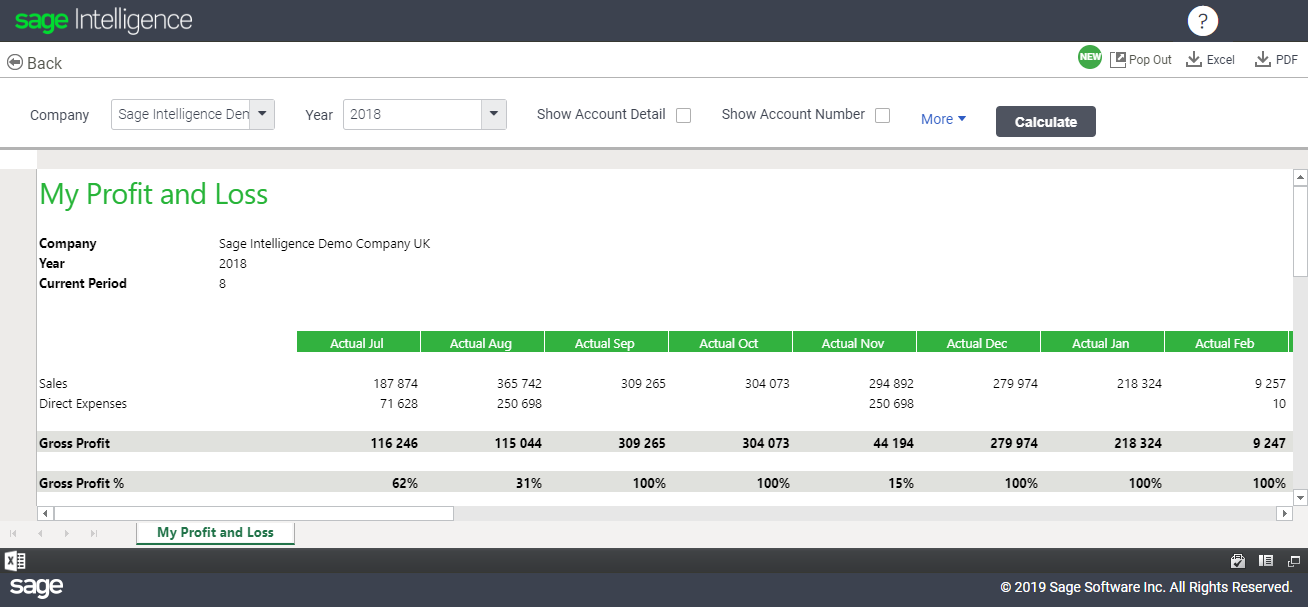
The Quick Create Report feature provides a convenient way for you to access the information you want based on a set of predefined or custom columns and rows. For more information on how you can design reports to view your data, check out our learning videos on the Sage Intelligence Learning Portal.
