

Hello folks!!
Today let’s discuss Microsoft excel and the SEI/Office add-ins used in Sage X3.
You’ve likely found yourself reading this article because you either need to add one of these add-ins or upgrade them, perhaps you have a new machine or need to remove and re-install the add-ins for troubleshooting purposes. Either way this article will guide you along the way.
Adding the SEI Excel add-in
Starting from scratch, lets first add the add-in to excel.
- Obtain and install the SEI Excel add-in from Nectari.
Typically, this is included within the install packages provided with your version of SEI. Its important to use the provided install as the add-in needs to match the version of SEI being used.
- If you are re-installing, remove the add-in first via Windows add-remove programs, then install the new version.
- Please refer to Nectari Online help for assistance in installing the add-in if needed.
https://onlinehelp.nectari.com/Latest/en/Installation/addin/Introduction.htm
Once installed we can now activate the SEI add-in.
- Open Excel
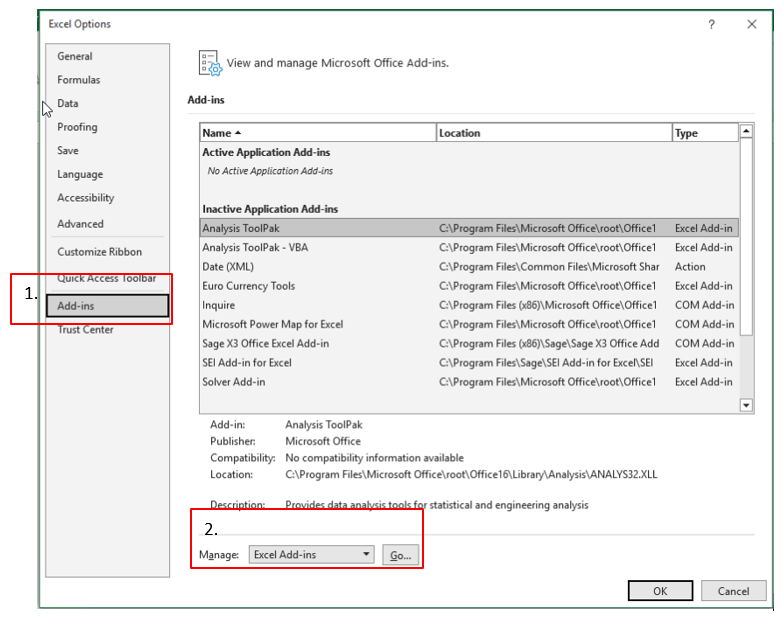
- Go to File > Options > Add-ins
- Manage Excel Add-ins > Go
After selecting the “SEI Add-in for Excel” Click OK.
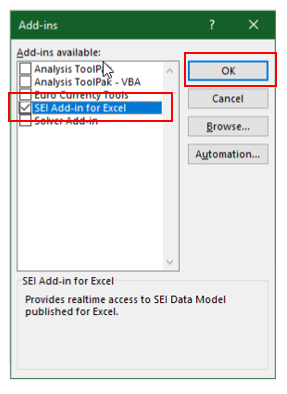
All set, you have now activated the SEI Excel Add-in.
Adding the Office Excel add-in
Let’s grab the install file from your local X3 application.
From X3, open the Site map. Navigate to Administration > Utilities > Installation.
- Select “Install addins for Office”.
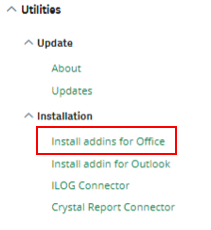
This should automatically start a download named “SageX3OfficeAddin.msi”
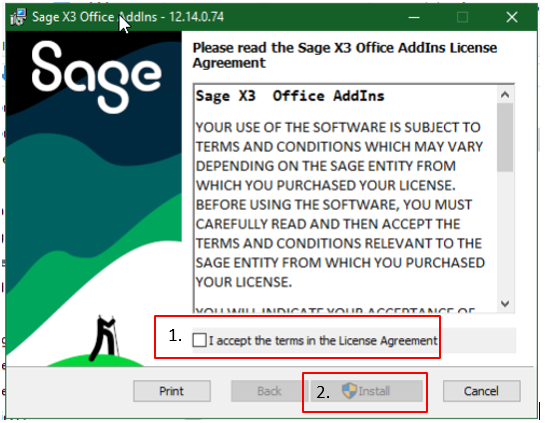
Double click to launch installer.
- Accept the terms.
- Click install.
Accept the User account control message regarding approving changes to this device.
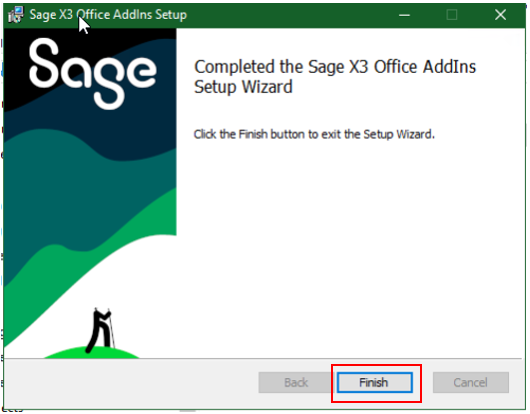
You should see a few progress bars during the install, once complete click “Finish”.
Activating this add-in is the same process as we covered for the SEI add-in except this time we will select “COM Add-ins” under Manage.
- Open Excel
- Go to File > Options > Add-ins
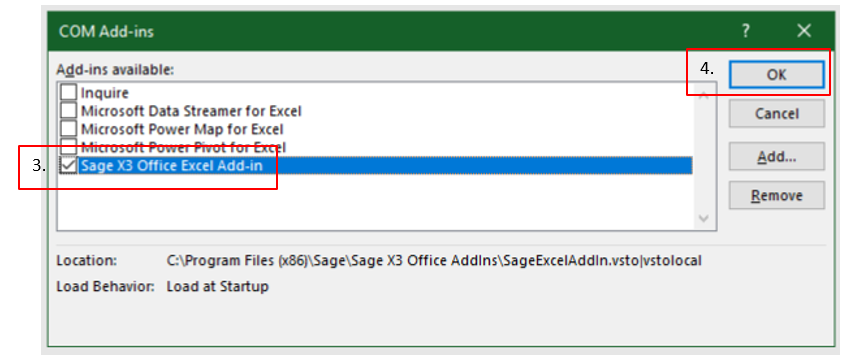
- Manage COM Add-ins > Go

- Tick the option “Sage X3 Office Excel Add-in”
- Click OK.
Once completed successfully you should see the “Sage” tab on the top bar of Excel, as well as an option to log into excel.

That’s all it takes to install, activate, and begin using the available add-ins for SEI and Office.
However, lets assume that not everything went according to plan and you have experienced some issues.
The following are some steps you can take to troubleshoot.
Troubleshooting
SEI Excel Add-in missing on ribbon.
After installing/upgrading SEI, the Excel Add-in menu is not on the ribbon. The SEI Add-in disappears when reopening Excel.
Causes:
- Inadequate permissions on the client machine
- Older version of Excel
- Incompatible version of Excel
- Damaged Office installation
- Damaged SEI Excel Add-in installation
- Add-in location is not trusted
- Multiple versions of Excel on the same computer
- Another Add-in conflicting with the SEI Add-in
Since there could be many reasons for this issue, there are also many potential solutions. Any of the solutions below may resolve it.
Resolution(s):
- Reinstall the SEI Excel Add-in
- Run a repair on Microsoft Office
- Add the Add-in location to Excel's trusted locations.
- In Excel go to File > Options > Trust Center > Trust Center Settings > Trusted Locations > Add new location
- Enter the path to the Add-in
- Save
- Add the Add-ins folder as a trusted location
- C > User > [user name] > AppData > Roaming > Microsoft > AddIns
- Confirm multiple versions of Excel are installed, for example: Exce 2013 and Office 365
- Run Excel as an Administrator
- In Windows, click Start
- Right click on the Excel icon
- Select Run as Administrator
- To save these settings go to Start>Type in compatibility mode>select excel from the list of programs>select permissions as the issue>then test the program running as admin>save the settings.
- Check for conflicting Add-ins.
- Go to File > Options > Add-ins > Manage Excel Add-ins > Go
- Deselect all other Add-ins in Excel besides the SEI Add-in
- Click OK
- If the SEI Add-in remains in the ribbon, add the other Add-ins one by one to see which one is conflicting.
Un-installing the SEI add-in.
- Disable the Add-in in Excel.
- Open Excel, navigate to File, Add-ins.
- Select Excel Add-insfrom the Manage drop-down box then select ..
- In the Add-Inswindow, uncheck SEI Add-in for Excel.
- Click
- Close Excel.
- Uninstall the add-in from the Programs and Featurestask in Control Panel.
Unable to log into SEI “Invalid Log-in”
Cause:
There is a value entered in the Domain Name field in the SEI login splash screen and the user is not using an active directory login.
Or if Active Directory is used, the user was added in SEI without using the Active Directory lookup functions.
Resolution:
If you are not using active directory users to login, remove any value entered in the Domain Name field.
If you use active directory and the Domain field is blank in the SEI user record, then remove the user, and add again using the active directory lookup features.
- In Manage Users, click New.
- Click Use Active Directory
- Select your Domain from the drop-down list.
- Click the Search box, and then the magnifying glass icon.
- The 'Select a User' box becomes active. Select the user from the drop-down list.
The user information will auto-fill from the active directory record.
- Select SEI roles and options as needed.
- Click Create.